



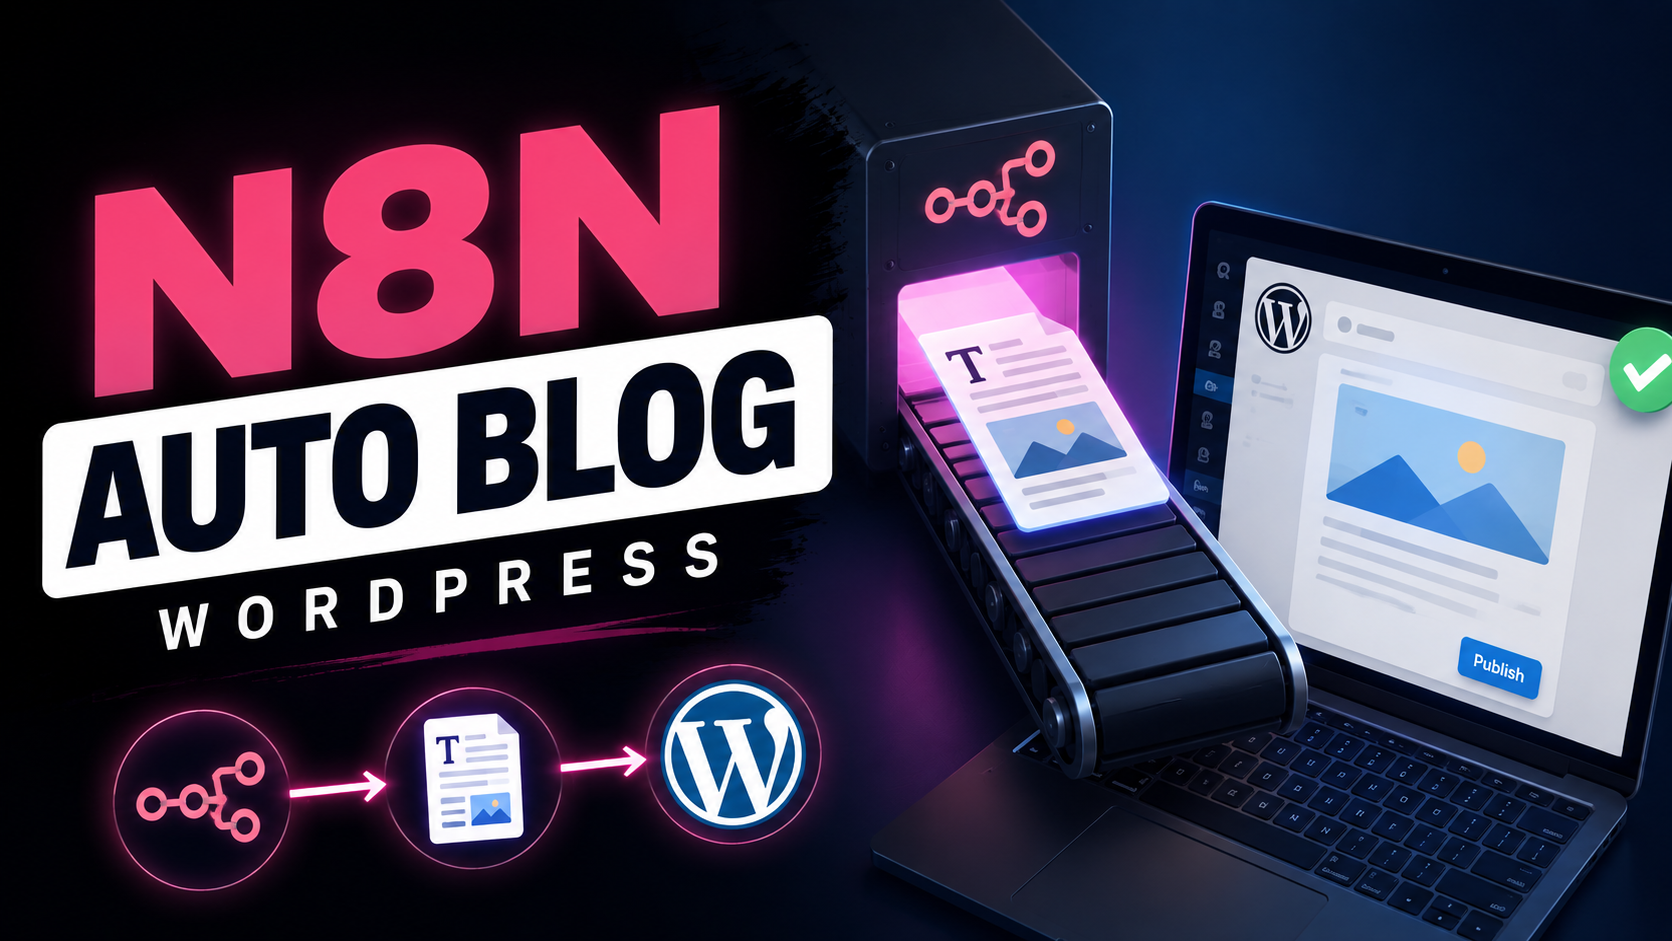

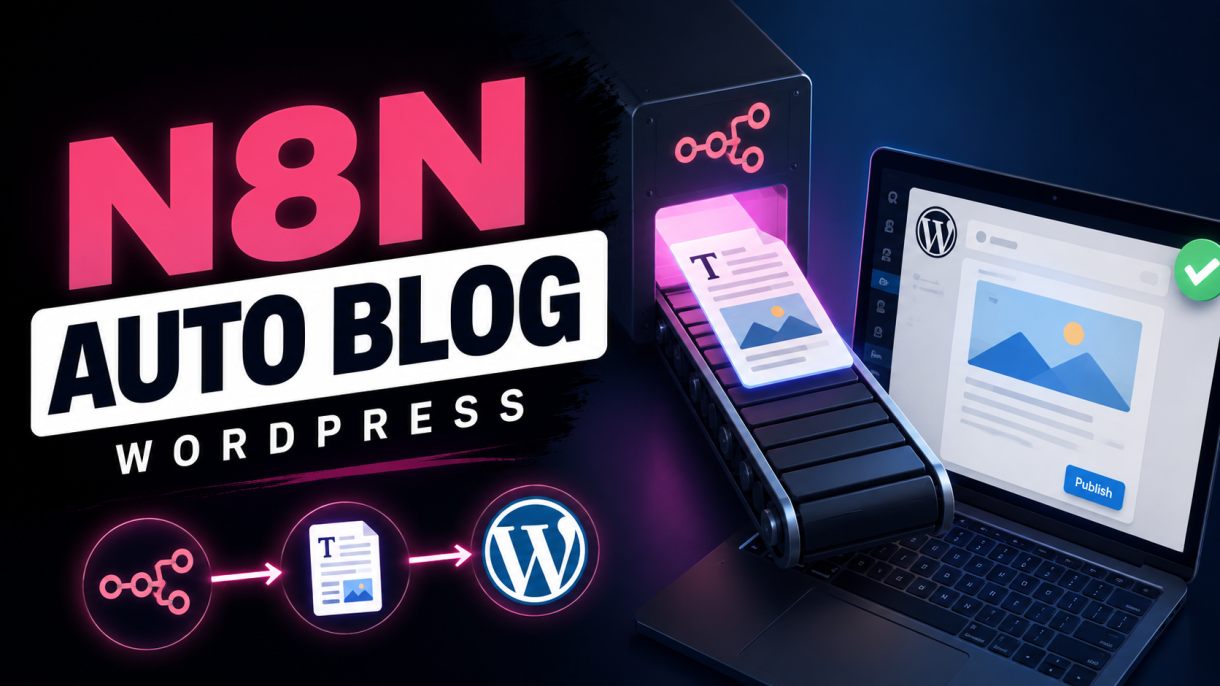
This is a complete How to Auto Publish AI Articles to WordPress With n8n tutorial. It covers schedule trigger, Google Sheets topic queue, AI agent, image generation, WordPress media upload, and post creation.
Key Takeaways
- This workflow turns a Google Sheet of topics into published WordPress posts — article, featured image, category, alt text, and status tracking — from a single trigger.
- Roughly 80% of build time goes into two credential setups: Google Cloud OAuth and the WordPress application password. The AI part takes minutes.
- The Return only first matching row toggle and the row_number value from Google Sheets are the two settings that stop the workflow from writing every topic at once or republishing the same one daily.
- A structured output parser on the AI Agent is what makes the workflow survive unattended. Without it, the model can return a slightly different shape each run and downstream nodes may fail unpredictably.
- Test node by node, not workflow by workflow. Each n8n node has its own Execute button, and each one shows you exactly what data it hands to the next.
You have a spreadsheet full of blog topics. Every one of them can become a 3-hour job: research, draft, edit, find an image, resize it, upload it, set the alt text, pick a category, and publish.
This build collapses the steps into one execution.
A schedule trigger fires, How to Auto Publish AI Articles to WordPress With n8n, pulling the topic from Google Sheets.
An AI agent writes a 2,000-word HTML article, and a second AI node generates a cover image.
We resize the image, upload it to the WordPress media library, and create the post with that image attached.
The sheet row flips to done so tomorrow’s run picks up the next topic.
Eleven nodes. Here is every one of them.
What You Need Before You Start
1. n8n, installed and reachable. Locally, you can run n8n on localhost:5678. But a schedule trigger only fires while n8n is running. Close your laptop and the automation stops. Installing n8n on a VPS with a subdomain gives you an always-on scheduler and a stable HTTPS redirect URI, which Google’s OAuth setup requires. Build locally, then move to the VPS once it works.
2. WordPress, installed, with REST API access. Any self-hosted WordPress site works. The workflow only touches two endpoints — /wp-json/wp/v2/media and /wp-json/wp/v2/posts — so you can swap WordPress for another CMS later by changing the final nodes.
3. An OpenAI account with credit. A small amount of API credit is enough to build and test this workflow multiple times.
4. A Google account for Google Sheets.
One note before you start clicking: in n8n, everything on the canvas is a node, and each node is a complete feature with its own execution. It runs, produces output, and passes that output forward as variables the next node can reference. That’s the entire mental model.
n8n also ships with a Templates library containing community-built workflows. You can use these templates as a starting point and replace the credentials and configuration with your own.
Step 1: Add the Schedule Trigger
Create a new workflow, then search the node panel for Schedule. Add the Schedule Trigger.
By default, you can configure it to run once per day. You can change the interval to hours, minutes, or a specific cron expression. For testing, you can execute the individual nodes manually. The trigger becomes important once you activate the workflow.
Every node you add shows a + on its right edge. Click it to attach the next node in sequence, or drag a node onto the canvas and connect the arrow yourself. Both approaches work.
Step 2: Connect Google Sheets as Your Topic Queue
Before touching n8n, build the sheet. At minimum, you need a column for the topic title and another column for the processing status.
| title | status |
|---|---|
| Scaling Serverless Applications | pending |
| What Is a Vector Database | pending |
| REST vs GraphQL in 2026 | done |
Now add a Google Sheets node in n8n. It will immediately ask for credentials — and this is the part that usually takes the longest.
2a. Start the Credential in n8n
Click Create New Credential and choose OAuth2. There is also a Service Account option, but OAuth2 is simpler for this workflow.
n8n will display a Redirect URL. Copy it. This is your n8n instance’s callback address — your VPS subdomain if you’re hosted, or your localhost address if you’re not. Google needs this exact string.
2b. Create the OAuth Client in Google Cloud
Open Google Cloud Console and sign in with the Google account that owns the sheet.
- Select or create a project. Click the project drop-down at the top. If this is your first time, create one — something like
n8n-wordpress. - Enable the API. Go to APIs & Services → Enable APIs and Services. Search for Google Sheets API and enable it.
- Create credentials. Go to APIs & Services → Credentials → Create Credentials → OAuth client ID.
- Choose Web application as the application type.
- Give the client a name.
- Under Authorized JavaScript origins, enter your n8n origin.
- Under Authorized redirect URIs, paste the exact redirect URL n8n gave you.
- Save the configuration. Google generates a Client ID and Client Secret.
2c. Add the Test User
Go to the Audience screen in Google Cloud and add your Gmail address under Test users. Use the same account you will authenticate with in n8n.
If you skip this step, Google may refuse the sign-in even though the credential itself is configured correctly. An OAuth application in testing mode only allows authentication from users added to the test-user list.
If you intend to publish the app publicly, you’ll also need to go through the relevant branding and domain-verification process. For a personal automation, keeping the OAuth application in testing mode with your account as a test user is usually sufficient.
2d. Finish the Credential and Configure the Node
Copy the Client ID and Client Secret back into n8n and save. n8n will open a Google sign-in window. Log in with the test-user account you just added.
Now configure the Google Sheets node:
- Document: select your Google Sheet.
- Sheet: select the tab containing your topics.
- Operation:
Get Row(s). - Filters: column
status, valuepending. - Return only first matching row: ON.
That last toggle matters more than it looks. Without it, the node can return every pending row and the workflow may try to process multiple topics during one execution.
Save, then hit Execute Node. Look at the output panel. Alongside title and status, you’ll see row_number. Keep this value because you need it in the final step to mark this specific row as complete.
Step 3: Add a Limit Node
Search for Limit and add it. Set Max Items to 1, keeping the first item.
If you already enabled Return only first matching row in Step 2, this is technically redundant. However, it is useful when your upstream source can return multiple items, such as an RSS feed or API.
Execute it. You should see exactly one topic passed to the next node.
Step 4: Write the Article With an AI Agent
Search for AI and add the AI Agent node. This node has several parts you need to configure.
4a. The Dynamic Prompt
This is the per-run instruction. Use the title variable from the Google Sheets node so the topic changes automatically on every execution.
Write a 2000-word article on the topic:

{{ $json.title }}
4b. The System Message
Think of the system message as the permanent editorial brief. This is where you define the rules that should remain consistent regardless of the topic.
- Target word count.
- Output format — HTML rather than Markdown if you are sending the content directly to WordPress.
- Heading hierarchy — one H1, H2 sections, and H3 subsections.
- Code block formatting for technical content.
- Tone and writing style.
- Banned phrases and unnecessary filler.
- SEO requirements.
- Keyword usage.
- Meta description requirements.
- Introduction length and structure.
You can put all of these instructions inside the normal prompt and the workflow will still work. Separating permanent rules into the system message is cleaner because the system message remains fixed while the user prompt changes with every topic.
4c. Attach the Chat Model
Every AI Agent node has connectors underneath for its sub-nodes. Click the model connector and choose OpenAI Chat Model.
Create your OpenAI credential. You need your API key. Keep the base URL at its default unless you have a specific reason to change it.
For model selection, start with a cost-effective model while building and testing the workflow. Once the workflow is stable, you can switch to a more capable model if the quality improvement justifies the additional cost.
If the AI Agent times out during a long generation, re-execute it. If timeouts continue, try a different model or reduce the amount of content being generated in a single request.
4d. Attach the Structured Output Parser
Click the second sub-node connector and add a Structured Output Parser. Define the structure you want the AI Agent to return.
{
  "post_title": "string",
  "main_content": "string",
  "keywords": "string"
}
You could simply tell the model to return JSON in the prompt, and it will often work. The problem is consistency. The parser forces the output into the same structure on every run, which makes the downstream nodes much more reliable.
Execute the node and open the JSON tab in the output panel. You should see the three fields, with the full HTML article inside main_content.
Step 5: Generate the Cover Image
Add an OpenAI node. This time, choose the image-generation action rather than the AI Agent.
- Credential: use the same OpenAI credential.
- Model: choose the image model you want to use.
- Prompt: build the prompt dynamically from the article title.
Generate a modern, professional blog cover image for the topic:

{{ $json.post_title }}

Style: flat illustration.
No text anywhere in the image.
Specify the visual style deliberately. Asking for a consistent illustration or flat-vector style generally produces more consistent blog covers than simply asking for a realistic image.
Execute the node. The output arrives as a binary file rather than a normal image URL. You can preview the generated image before continuing.
Step 6: Resize the Image
Add an Edit Image node and choose the Resize operation.
- Property Name:
data— use the binary property coming from the previous node. - Width / Height: enter your target featured-image dimensions.
- Option: use center crop when necessary.
Even if you request a specific size in the image-generation prompt, the image model may not always return exactly those dimensions. The Edit Image node guarantees that the final featured image follows your site’s desired aspect ratio.
Step 7: Upload the Image to WordPress
Add an HTTP Request node.
- Method:
POST - URL:
https://yourdomain.com/wp-json/wp/v2/media
7a. WordPress Credentials
Use a WordPress application password for authentication.
- Authentication: Predefined Credential Type → WordPress API.
- Username: your dedicated automation user.
- Application Password: the WordPress application password.
- Domain: your WordPress domain.
Do not use your primary administrator account for automation if you can avoid it. Create a dedicated WordPress user with only the capabilities required to create posts and upload media. This reduces the potential impact if the automation credentials are ever exposed.
7b. Configure the Headers
WordPress needs to know what file it is receiving.
| Header | Value |
|---|---|
| Content-Disposition | attachment; filename=”cover.png” |
| Content-Type | image/png |
The filename, extension, and MIME type should agree. If the image is a PNG, use PNG consistently. If you use another format, make sure the filename extension and MIME type match the actual binary file.
7c. Configure the Body
- Send Body: ON.
- Body Content Type:
n8n Binary File. - Input Data Field Name:
data, or whatever your binary property is named.
Execute the request. WordPress returns a JSON response containing the media id, source_url, slug, and upload information. The media id is important because you’ll use it later as the featured image.
Step 8: Add SEO Metadata to the Image
Add another HTTP Request node.
- Method:
POST. - URL:
https://yourdomain.com/wp-json/wp/v2/media/{{ $json.id }}. - Body parameters:
title,slug,alt_text, andcaption.
When you upload an image manually, WordPress gives you fields for these values. Automation can skip them unless you explicitly populate them. Adding proper metadata gives your media library more useful titles and, importantly, gives the image meaningful alternative text.
This step is optional. The workflow will still work without it, but keeping it means every generated image can receive useful metadata automatically.
Step 9: Create the WordPress Post
Search for WordPress and add the WordPress node. Choose the post creation operation.
- Resource:
Post. - Operation:
Create. - Title: map this from the AI output →
post_title. - Content: map this from →
main_content. - Status:
publishordraft. - Categories: select the appropriate WordPress category.
- Tags: optional.
One useful feature of n8n is that the expression panel can access data from previous nodes. You can pull the title, article content, row number, media ID, or other values from earlier steps rather than being limited to the immediately preceding node.
Publish or Draft?
If your system message is extremely strict and you’ve tested the workflow thoroughly, you can set the status to publish and let the automation run unattended.
For most websites, however, draft is the safer choice initially. The workflow still handles the research, writing, formatting, image generation, upload, and metadata. You simply review the article before clicking Publish.
That final human review is also an opportunity to add firsthand experience, examples, opinions, screenshots, and other original information that an AI model cannot know about your business.
Execute the node. The post now exists on your WordPress site, but it does not yet have the featured image attached.
Step 10: Attach the Featured Image
Add one more HTTP Request node.
- Method:
POST. - URL:
https://yourdomain.com/wp-json/wp/v2/posts/{{ $json.id }}. - Body parameter:
featured_media= the media id from Step 7.
Use the same WordPress credential for this request.
Execute the request, then open your WordPress admin and reload the Posts list. Open the new article. You should see the HTML-rendered article, your headings and code blocks, the generated cover image as the featured image, and the selected category.
Step 11: Update the Google Sheet
Add a final Google Sheets node.
- Operation:
Update Row. - Row number: use the
row_numbercaptured back in Step 2. - status:
done.
Execute it and watch the corresponding row in your sheet change from pending to done.
This is the node that makes the whole workflow safe to schedule. Without it, a daily trigger can fetch the same first pending row every morning and publish the same article repeatedly.
Test this write-back before you activate the workflow.
Going Further: Images Inside the Article Body
The build above attaches one featured image. For long-form articles, you may also want supporting images throughout the article.
The basic pattern is simple: decide how many in-body images you want and where they should appear. Generate the images before the publish step, collect their media URLs, and then use a Code node to inject the appropriate <img> tags into the HTML at the desired positions.
Feed the modified HTML into the WordPress create-post node.
The important sequencing point is that all image generation and HTML modification should happen before publishing. Generating images after publication means you have to edit live pages afterward, which defeats much of the purpose of the automation.
Testing and Troubleshooting
Execute node by node, not all at once. Every n8n node has its own Execute button. Run one, inspect its output, and then run the next. Once every node works individually, run the complete workflow from start to finish.
Here are the most common problems you’re likely to encounter.
Google OAuth Rejects the Login
Check two things first: make sure your Google account was added as a Test user, and make sure the redirect URI in Google Cloud matches the redirect URI provided by n8n exactly, including the protocol and path.
The Workflow Writes Every Topic at Once
Make sure Return only first matching row is enabled. You can also add the Limit node and set Max Items to 1.
The AI Agent Times Out
Long generations can occasionally time out. Re-run the node first. If the problem continues, try a different model or reduce the requested output length.
The Media Upload Is Rejected
Check the actual binary file type. Your Content-Type, filename extension, and binary format need to agree. If the file is a PNG, use a PNG filename and image/png.
Downstream Nodes Break Intermittently
Your AI output may not have a consistent structure. Add or fix the Structured Output Parser so the downstream nodes always receive the same fields.
The Same Article Publishes Repeatedly
Check the final Google Sheets update node. Make sure it runs successfully and uses the correct row_number from the original Google Sheets lookup.
FAQs
Do I Have to Use OpenAI for Everything?
No. n8n supports multiple AI providers, and the AI Agent is model-agnostic. Using one provider for both text and image generation can simplify credential management and cost tracking, but you can split the workflow across different providers if that better fits your requirements.
Can I Run This on Localhost Instead of a VPS?
Yes. Localhost is perfectly fine for building and testing. n8n will provide a local redirect URI that you can configure in Google Cloud.
The limitation is the schedule trigger. It can only run while your local n8n instance is running. Once the workflow is working correctly, moving it to a VPS with a subdomain allows the automation to run continuously.
How Much Does One Article Cost?
It depends entirely on the models you choose, the length of the article, and the image-generation model. The easiest way to determine your actual cost is to run the workflow several times and check your provider’s usage dashboard.
Can I Publish to Something Other Than WordPress?
Yes. Everything from the schedule trigger through article generation and image resizing can remain largely platform-independent. The WordPress-specific portion is concentrated in the media and post API steps.
You can replace those final steps with the APIs required by Ghost, Webflow, Shopify, or another headless CMS.
Should I Set the Post Status to Publish or Draft?
Draft is the better starting point. Once your system message consistently produces content that meets your editorial standards, you can consider automatic publishing.
The automation already saves you from the repetitive work of research, drafting, formatting, image creation, uploading, and metadata management. A short human review gives you the opportunity to add original insights and catch anything the AI missed.
Conclusion
The workflow is eleven nodes, and only two of them are AI. Everything else is the infrastructure around the AI: a topic queue that tracks state, a parser that enforces a predictable output structure, an image-processing chain, WordPress API requests, and a Google Sheets write-back that prevents the workflow from processing the same topic repeatedly.
That’s the part worth internalizing. The AI is the easy component. You could swap models tomorrow and most of the workflow would remain unchanged.
What makes this automation reliable for long-term unattended use is the infrastructure around it: correct credentials with minimum permissions, deterministic output, controlled image handling, and a spreadsheet that knows which topics have already been processed.
Build it node by node. Execute each node and inspect what it passes forward. When all eleven nodes run cleanly from start to finish, activate the schedule trigger and start filling your spreadsheet with topics.
Stuck on a step? The most common blockers are Google Cloud OAuth configuration and WordPress media-upload headers. Check the Google OAuth and WordPress media-upload sections above before troubleshooting the rest of the workflow.

Kamran Afzal is a passionate programming mentor dedicated to helping aspiring developers become proficient in Drupal. With extensive industry experience, Kamran is committed to sharing his knowledge and guiding learners from beginner to advanced levels. His YouTube channel, Programming Mentor, offers clear and engaging tutorials on a variety of topics. Skills: Drupal 9, 10, 11, PHP frameworks, AWS, React, Angular, Node.js, MySQL, Apache, Nginx, Apache Solr, Elasticsearch, Memcache, REST API, Git, Twig

0 Comments