


How to automate WordPress with n8n
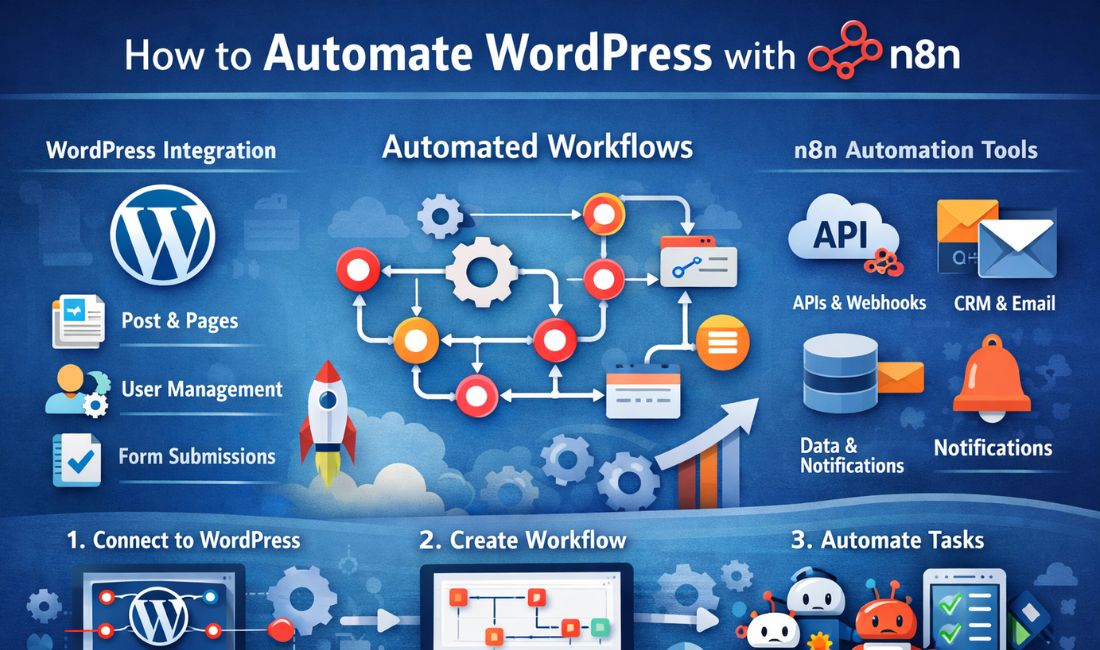
Automation is a game-changer for bloggers, marketers, and business owners who rely on WordPress to manage their websites. If you’re looking to save time, reduce manual tasks, and increase productivity, learning how to automate WordPress with n8n can be one of the smartest moves you make. This article will guide you through the process, providing practical examples and tips to get started with n8n — a powerful, open-source workflow automation tool.
Understanding n8n and its Benefits for WordPress
Before diving into the technical details, it’s essential to understand what n8n is and why it matters for WordPress users. n8n (pronounced “n-eight-n”) is an extendable workflow automation tool that allows you to connect different systems and automate repetitive tasks with ease.
What is n8n?
n8n is a free and open-source automation tool that helps you build complex workflows with a no-code/low-code interface. It supports over 200 integrations including APIs, databases, and popular apps like WordPress, Gmail, Slack, and more.
Why automate WordPress?
- Save Time: Automate routine tasks like content posting, user management, backup, and data syncing.
- Reduce Errors: Minimize human error from manual operations.
- Increase Efficiency: Streamline your processes and focus on growing your website or business.
Key Use Cases for WordPress Automation with n8n
- Automatically publish new posts based on external triggers.
- Sync contact forms with email marketing tools or CRMs.
- Backup WordPress data periodically.
- Notify team members via Slack or email about updates.
Setting Up Your WordPress Automation Environment
Installing n8n
To get started with how to automate WordPress with n8n, first install n8n. You can:
- Use Docker (recommended for most users for easy deployment and isolation).
- Install via npm if you prefer running it directly on your local system.
- Use cloud services like n8n.cloud for a hassle-free hosted option.
Example: Installing with Docker:
# Pull and run n8n Docker container

docker run -it --rm \
    -p 5678:5678 \
    -v ~/.n8n:/home/node/.n8n \
    n8nio/n8n
Configuring WordPress for API Access
WordPress REST API will be used for automation workflows. Ensure API access by following these steps:
- Enable pretty permalinks in Settings > Permalinks.
- Generate an Application Password for API authentication: Users > Profile > Application Passwords.
- Use Basic Auth or JWT plugins if you want advanced authentication options.
Connecting n8n with WordPress
Use the HTTP Request node in n8n to connect to your WordPress site’s REST API using the credentials you set up.
{
  "method": "POST", // or GET, PUT, DELETE depending on action
  "url": "https://yourdomain.com/wp-json/wp/v2/posts",
  "authentication": "basicAuth", // Use your WordPress username & application password
  "body": {
    "title": "Automated Post from n8n",
    "content": "This post was created automatically using n8n's workflow automation.",
    "status": "publish"
  }
}
Practical Workflows to Automate WordPress with n8n
Automate New Post Publishing Based on External Triggers
You can automate publishing new posts from external sources such as Google Sheets, RSS feeds, or form submissions.
Example Workflow:
- Trigger: RSS Feed node detects a new blog post.
- Action: HTTP Request node sends data to WordPress REST API to create a new post.
Sync WordPress Contact Form with Email Marketing Tools
Automatically add new contact form submissions into your email marketing platform like Mailchimp or ActiveCampaign.
Example Workflow:
- Trigger: Webhook node catches form submission from WordPress.
- Action: Mailchimp node adds the email to a subscriber list.
Schedule Regular Backups and Notifications
Use n8n’s scheduler node to create periodic backups and notify your team via Slack or email.
Example Workflow:
- Trigger: Cron node runs daily at a specified time.
- Action 1: Execute a script or HTTP Request to back up your WordPress database.
- Action 2: Slack node sends a success message.
Sample Code to Create a WordPress Post using n8n
// HTTP Request node example for creating a post
{
  "method": "POST",
  "url": "https://yourdomain.com/wp-json/wp/v2/posts",
  "authentication": {
    "type": "basicAuth",
    "user": "your_username",
    "password": "your_application_password"
  },
  "body": {
    "title": "Hello from n8n!",
    "content": "This post is automatically created using n8n automation.",
    "status": "publish"
  }
}
Tips and Best Practices for Automating WordPress with n8n
Maintain Security
- Keep your API credentials safe and use limited permissions where possible.
- Use HTTPS for all requests to encrypt data.
- Regularly update WordPress, n8n, and related plugins to prevent vulnerabilities.
Test Workflows Thoroughly
Always test your automation workflows in a staging environment before deploying them live to prevent disruptions.
Use Descriptive Naming and Documentation
- Label nodes clearly within n8n for easier troubleshooting.
- Document workflows so your team can understand and maintain them over time.
Monitor and Log Automation Activities
Set up logging mechanisms within n8n to track when workflows run and detect any errors or failures quickly.
Conclusion
Understanding how to automate WordPress with n8n opens up a world of possibilities to save time, reduce errors, and streamline your website management tasks. Whether you want to auto-publish content, sync user data, or back up your site regularly, n8n makes it accessible even for beginners.
Start experimenting with n8n today, and harness the power of workflow automation to take your WordPress site to the next level!
Meta description: Learn how to automate WordPress with n8n, a powerful workflow automation tool, to streamline content posting, form syncing, backups, and more.
Take a look at official n8n plugin
Kamran Afzal is a passionate programming mentor dedicated to helping aspiring developers become proficient in Drupal. With extensive industry experience, Kamran is committed to sharing his knowledge and guiding learners from beginner to advanced levels. His YouTube channel, Programming Mentor, offers clear and engaging tutorials on a variety of topics. Skills: Drupal 9, 10, 11, PHP frameworks, AWS, React, Angular, Node.js, MySQL, Apache, Nginx, Apache Solr, Elasticsearch, Memcache, REST API, Git, Twig
0 Comments