


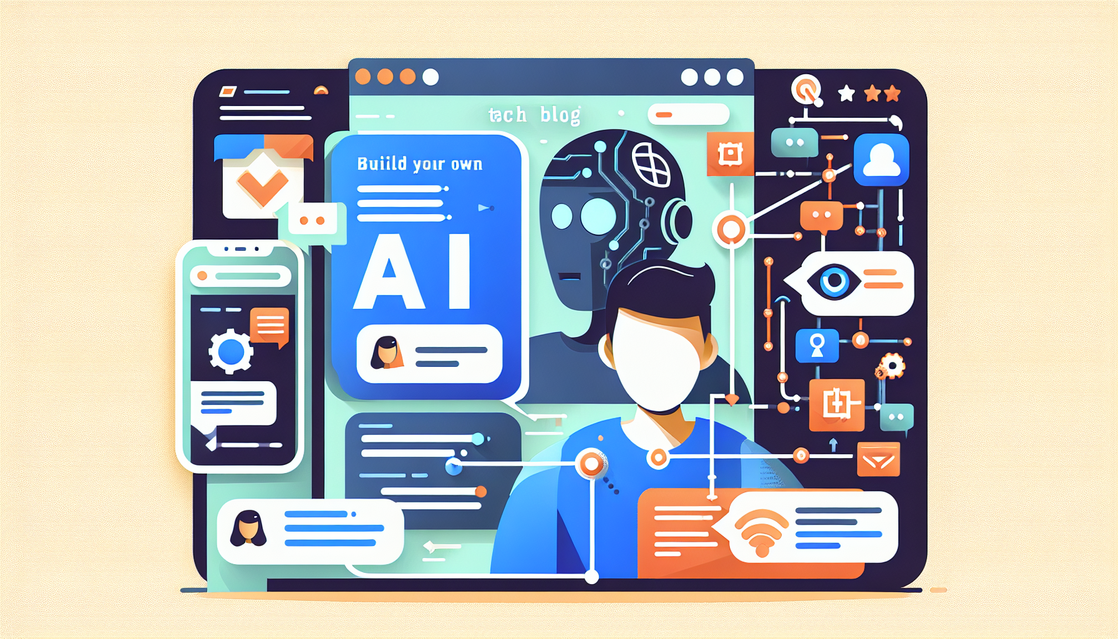
How To Build Your Own AI Chatbot From Scratch
In today’s digital era, AI chatbots are transforming the way businesses and individuals interact with technology. If you’ve ever wondered how to build your own AI chatbot from scratch, this comprehensive guide will walk you through the essentials—from the foundational concepts to the coding and implementation. Whether you’re a beginner or have some programming experience, this article will help you get started and create a chatbot tailored to your needs.
Understanding the Basics of AI Chatbots
What is an AI Chatbot?
An AI chatbot is a software application that can simulate human conversation through natural language processing (NLP). It can understand, interpret, and respond to user inputs in a way that feels interactive and intelligent.
Types of AI Chatbots
- Rule-based chatbots: Follow predefined paths and respond based on fixed rules.
- Machine learning chatbots: Use datasets and algorithms to learn from interactions and improve over time.
- Hybrid chatbots: Combine rule-based and machine learning approaches for enhanced performance.
Why Build Your Own AI Chatbot?
Building a chatbot by yourself has multiple benefits, including:
- Full control over functionality and customization.
- Cost savings compared to subscription-based platforms.
- Learning experience in AI, coding, and NLP.
- The ability to tailor the chatbot for specific niches or businesses.
Step 1: Planning and Choosing a Niche
Identifying Your Chatbot’s Purpose
Before coding, define what your chatbot will do. Some popular niches include:
- Customer support
- E-commerce assistance
- Personal productivity (e.g., reminders, task management)
- Entertainment and games
Define Your Target Audience
Knowing who will use your chatbot helps determine its tone, vocabulary, and functionality. For example, a chatbot for a tech company might use more technical language compared to one designed for retail shoppers.
Outline the Key Features
Create a list of must-have features. For a customer support bot, this might include:
- Answer FAQs
- Handle common customer service inquiries
- Escalate complex issues to human agents
- Provide order tracking information
Step 2: Setting Up Your Development Environment
Choosing the Programming Language
Popular languages for building chatbots include:
- Python: Popular due to powerful AI libraries like TensorFlow, PyTorch, and NLTK.
- JavaScript: Great for web-based chatbots with frameworks like Node.js.
- PHP: Useful for integrating chatbots into WordPress or other PHP-based websites.
Tools and Libraries You’ll Need
- Natural Language Processing (NLP): NLTK, spaCy (Python), or NLP.js (JavaScript) to enable understanding of human language.
- Machine Learning: TensorFlow, scikit-learn for training models.
- Chatbot Frameworks: Rasa (Python), Botpress (JavaScript) for building advanced bots easily.
Setting Up Your IDE
Choose an IDE such as VS Code, PyCharm, or Atom that supports your chosen programming language. Make sure to install relevant plugins for code linting and debugging.
Step 3: Building the Core Chatbot
Creating a Basic Chat Interface
Here is a simple Python example to create a command-line chatbot interface:
# Simple chatbot command-line interface
print("Welcome to your AI chatbot!")

while True:
    user_input = input("You: ")  # Take user input
    if user_input.lower() in ['exit', 'quit']:
        print("Chatbot: Goodbye!")
        break
    else:
        print("Chatbot: I am still learning. Please teach me.")  # Placeholder response
Implementing Natural Language Processing (NLP)
Use the following example to integrate basic NLP with Python’s NLTK library:
# Importing NLTK library for tokenization
import nltk
from nltk.tokenize import word_tokenize

nltk.download('punkt')

# Example user input
user_input = "Hello, how can I book a flight?"

# Tokenizing the input
tokens = word_tokenize(user_input)
print(tokens)  # Output: ['Hello', ',', 'how', 'can', 'I', 'book', 'a', 'flight', '?']
Adding Response Logic
A common approach is to use intent classification — mapping user inputs to specific response categories.
Example intent-based response in Python:
# Simplified intent detection
user_input = input("You: ").lower()

if "book" in user_input and "flight" in user_input:
    print("Chatbot: I can help you book a flight. Where would you like to go?")
elif "hello" in user_input:
    print("Chatbot: Hello! How can I assist you today?")
else:
    print("Chatbot: Sorry, I didn't understand that.")
Step 4: Enhancing Your Chatbot with Machine Learning
Training Your Chatbot
Gather a dataset of typical user queries and corresponding intents. You can use free datasets like the English Bot Corpus or create your own.
Using Scikit-learn for Intent Classification
Here’s a minimal example using the scikit-learn library to train a simple intent classifier:
# Import necessary libraries
from sklearn.feature_extraction.text import CountVectorizer
from sklearn.naive_bayes import MultinomialNB

# Sample data
texts = ["book a flight", "hello", "how does this work" ]
labels = ["book_flight", "greeting", "unknown"]

# Vectorize the text
vectorizer = CountVectorizer()
X = vectorizer.fit_transform(texts)

# Train classifier
clf = MultinomialNB()
clf.fit(X, labels)

# Predict intent
sample_text = ["can you help me book a flight"]
X_sample = vectorizer.transform(sample_text)
print(clf.predict(X_sample))  # Output: ['book_flight']
Integrating the Model with Your Chatbot
Use the trained model to predict user intent and respond accordingly in your chatbot loop.
Step 5: Deploying and Testing Your Chatbot
Choosing a Platform
Deploy your chatbot on platforms like:
- Your own website
- Facebook Messenger
- Slack
Creating a Simple Web Interface with Flask (Python)
Here is a basic example of how to create a chatbot web service using Flask:
# Import Flask for web app
from flask import Flask, request, jsonify

app = Flask(__name__)

@app.route('/chat', methods=['POST'])
def chat():
    user_message = request.json.get('message')

    # Basic response logic
    if 'hello' in user_message.lower():
        response = "Hello! How can I help you today?"
    else:
        response = "Sorry, I am learning to understand better."

    return jsonify({'response': response})

if __name__ == '__main__':
    app.run(debug=True)
Testing Your Chatbot
- Manually interact with your bot to find common issues.
- Use automated testing tools like Botium or Rasa test utilities.
- Collect user feedback to improve over time.
Conclusion
Learning how to build your own AI chatbot from scratch is a rewarding journey that combines planning, coding, and continuous improvement. Starting from understanding the basics, selecting your niche, setting up your development environment, programming core features, and enhancing with machine learning, you can create a chatbot that adds real value to your projects or business.
By following this guide, you’re equipped to start your chatbot development journey confidently. Start small, test often, and keep iterating!
If you found this guide helpful, share it with others or comment below with your chatbot building experiences or questions. Happy coding!
Kamran Afzal is a passionate programming mentor dedicated to helping aspiring developers become proficient in Drupal. With extensive industry experience, Kamran is committed to sharing his knowledge and guiding learners from beginner to advanced levels. His YouTube channel, Programming Mentor, offers clear and engaging tutorials on a variety of topics. Skills: Drupal 9, 10, 11, PHP frameworks, AWS, React, Angular, Node.js, MySQL, Apache, Nginx, Apache Solr, Elasticsearch, Memcache, REST API, Git, Twig
0 Comments